The starter is one of the most confusing elements of sourdough for many people, but it’s not hard. Honest.
Your sourdough starter is your source of yeast for your bread. It’s similar to the yeast you might see in packets or jars in the baking aisle at the grocery store, but this yeast grows wild and needs the occasional feeding.
The easiest way to get a starter is to ask a friend who bakes sourdough to share a little with you. (If you live near me, just holler and I’d be happy to provide a starter for you.) If you don’t have a sourdough friend, it takes a little patience to build your starter, but not much work. All you need is whole wheat flour, all purpose flour, and water. Here’s what you do.
- Day 1: Combine 1/2 cup (60 grams) of whole wheat flour and 1/4 water in a 1 quart jar or plastic container. Mix together well with a fork. Cover the jar with a towel and place in a warm place. In our home, the laundry room stays consistently warm.
- Days 2: No work for you. Check the starter once in a while. You may see bubbles forming. That’s a good sign; it means your starter is off to a good start. If you see a little brown liquid on the surface, that’s normal. As the flour ferments, it forms alcohol (called hooch). Just pour the liquid off.
- Day 3: Time to feed the wee beasties, this time with all-purpose flour. Discard about half the starter. (Don’t put it down the kitchen drain; use the trash can.) Add 1/2 cup (60 grams) of all-purpose flour and 1/4 water to the jar. Mix it up, cover with your towel, and return it to the warm place.
- Days 4, 5, and 6: Keep on feeding! Each day, remove and discard about half the starter. Add 1/2 cup (60 grams) of all-purpose flour and 1/4 water to the jar. Mix it up, cover with your towel, and return it to the warm place.
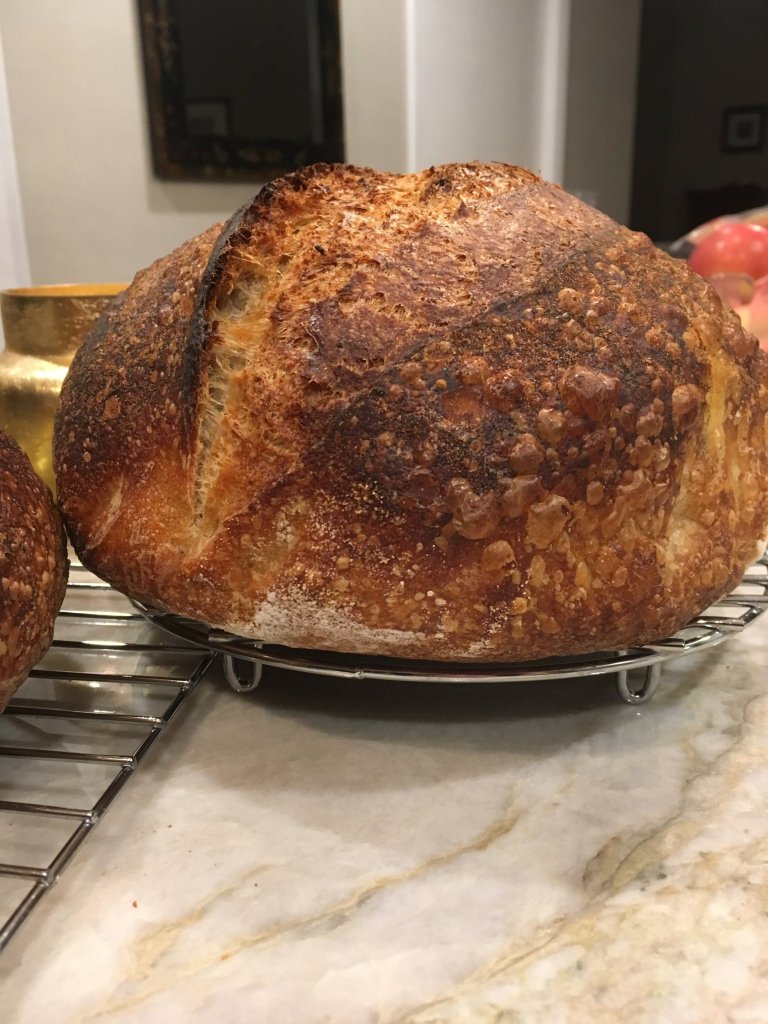
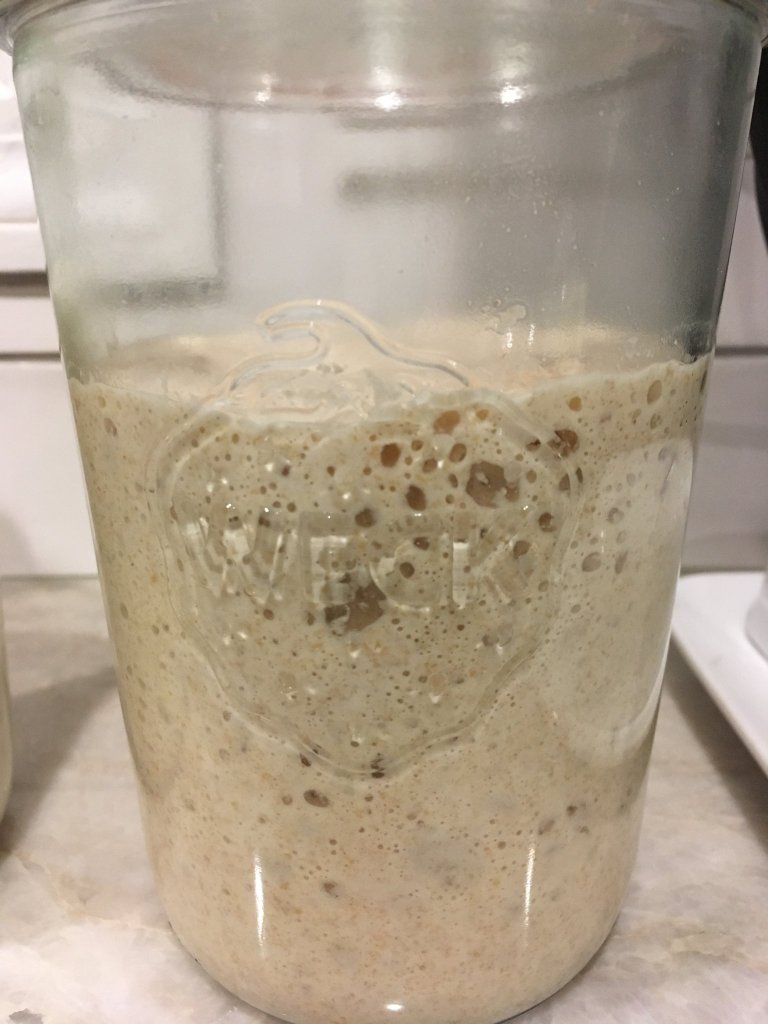
By the end of the week, the yeast should start to become very active. You’ll notice that about four hours after feeding the wee beasties, bubbles will begin to form and the starter will rise. That means it’s about ready to use.
Once your starter is active, a little maintenance is all it takes. Each day measure about 20 grams of your starter into a second jar and dispose of the rest. Add 100 grams of all-purpose flour and 100 grams of water and mix it up. Cover and leave it on your counter. If you don’t want to feed your starter everyday, you may refrigerate it and feed it just once a week.
Don’t want to throw away all that great yeast? There are a ton of recipes online for your excess starter. King Arthur is a great resource for recipes, but a Google search will give you 847,000 additional ideas.